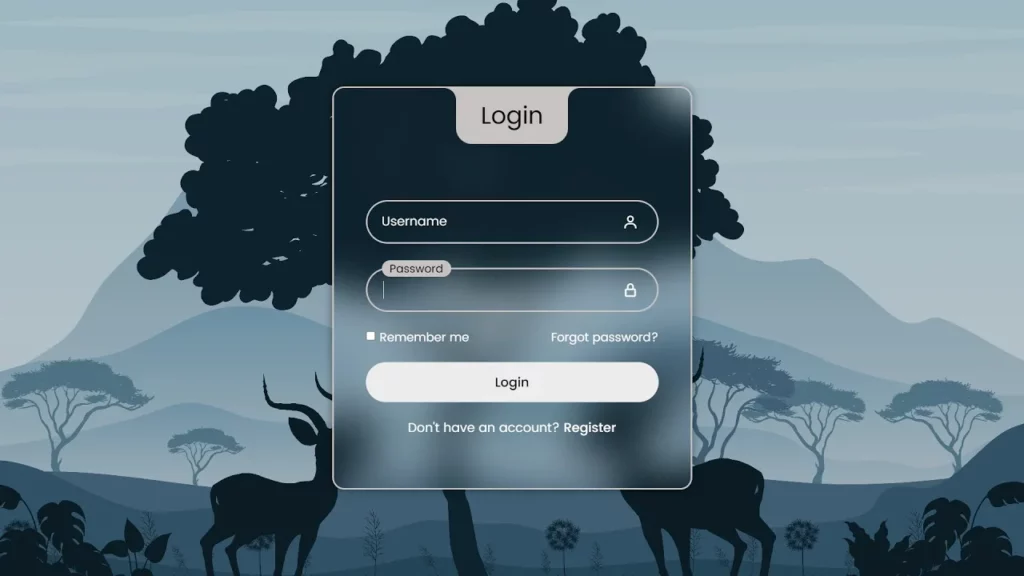
Creating an appealing and functional login form is a fundamental aspect of web design. In this comprehensive tutorial, we’ll guide you through the process of crafting a user-friendly login form using only HTML and CSS.
You don’t need to be a coding expert to follow along – this tutorial is designed for beginners, and by the end, you’ll have the knowledge and skills to create a sleek and stylish login form that you can use on your website or project
Table of Contents:
- Prerequisites:
- Before we get started, we’ll list the essential tools and basic knowledge you need for this tutorial. (Text Editor, and a Web browse).
- Setting Up the Project:
- We’ll help you set up the project structure and create the initial HTML file to get started.
- Designing the HTML Structure:
- Create the foundational HTML structure for your login form, including input fields, buttons, and labels.
- CSS Styling:
- Dive into CSS to style your form, covering layout, colors, fonts, and responsiveness.
- Positioning Elements:
- Learn how to position form elements effectively to create an attractive layout.
- Adding Interactive Features:
- Implement interactive elements like focus effects and transitions to make your form more engaging.
- Responsive Design:
- Ensure your login form looks great on various screen sizes by making it responsive.
- Conclusion:
- Summarize what you’ve learned and encourage you to use your newly acquired skills in your web development projects.
Key Points to Address:
- Prerequisites: List the tools and basic knowledge required to follow the tutorial.
- Setting Up the Project: Explain how to create the project structure and initial HTML file.
- Designing the HTML Structure: Describe the HTML structure for your login form.
- CSS Styling: Discuss using CSS for styling, layout, colors, fonts, and responsiveness.
- Positioning Elements: Explain how to position elements effectively to create an attractive layout.
- Adding Interactive Features: Demonstrate the implementation of interactive elements.
- Form Validation: Address the importance of user input validation and feedback.
- Customization and Branding: Show how to customize the form to match your branding.
- Responsive Design: Ensure the form works well on different screen sizes.
- Conclusion: Summarize the tutorial’s key takeaways and encourage readers to apply their new skills.
HTML
<!DOCTYPE html>
 <html lang="en">
 <head>
    <meta charset="UTF-8">
    <meta name="viewport" content="width=device-width, initial-scale=1.0">
    <title>Ludiflex | Login</title>
    <!-- BOXICONS -->
    <link href='https://unpkg.com/boxicons@2.1.4/css/boxicons.min.css' rel='stylesheet'>
    <link rel="stylesheet" href="assets/css/style.css">
 </head>
 <body>
    <!-- HTML CODES -->
 </body>
 </html>
CSS
/* POPPINS FONT */
@import url('https://fonts.googleapis.com/css2?family=Poppins:wght@400;500;600;700&display=swap');

*{
    margin: 0;
    padding: 0;
    box-sizing: border-box;
    font-family: 'Poppins', sans-serif;
}
/* ===== COLOR VARIABLES ===== */
:root{
    --primary-color: #c6c3c3;
    --second-color: #ffffff;
    --black-color: #000000;
}
/* ===== BODY - BACKGROUND IMAGE ===== */


/* ===== Reusable CSS ===== */


/* ===== WRAPPER ===== */
Download the Assets files with the link below:
If you face any problem leave a comment, I will be happy to help.


 by
by