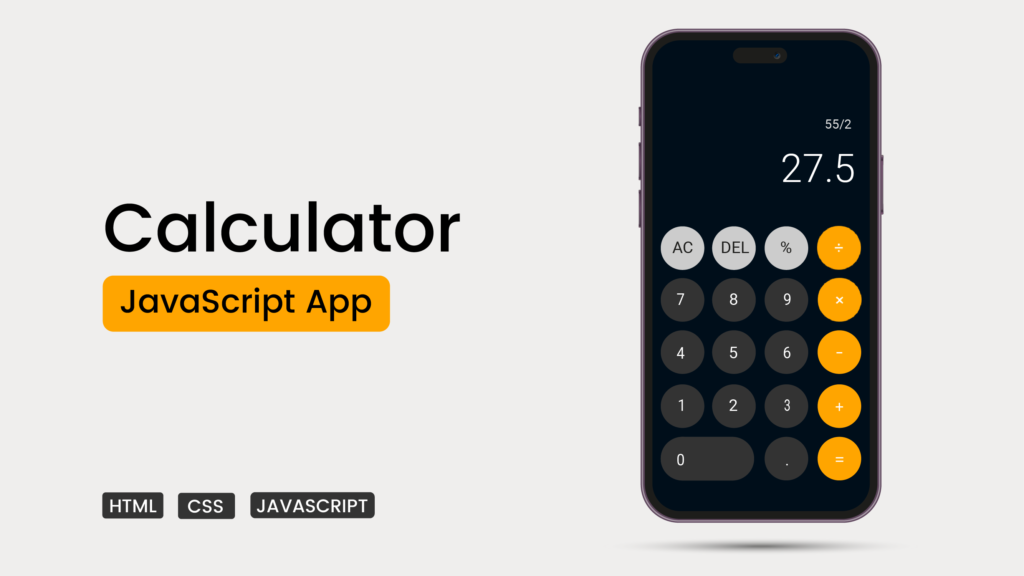
Hello! We’re going to help you make your own calculator using HTML, CSS, and JavaScript. It doesn’t matter if you’re new to coding or have experience – we’ll show you step by step.
This project is hands-on, meaning you’ll learn by doing. By the end, you’ll not only improve your coding abilities but also have a cool calculator to do math in a stylish way.
this engaging tutorial will not only enhance your skills but also leave you with a sleek, functional calculator to call your own. Let’s get started!
Section 1: Building the Basics
1.1 Getting Started with HTML
First things first, let’s set up the structure of your calculator using HTML. We’ll introduce you to the basics, making sure everything is organized and ready for action.
<!DOCTYPE html>
<html lang="en">
<head>
    <meta charset="UTF-8">
    <meta name="viewport" content="width=device-width, initial-scale=1.0">
    <title>JavaScript Calculator | Ludiflex</title>
    <link rel="stylesheet" href="assets/css/style.css">
</head>
<body>
    <!-- ==== Container ==== -->

    <script src="assets/js/main.js"></script>
</body>
</html>
1.2 Making It Look Good with CSS
Now, let’s make your calculator look nice! We’ll use CSS to add style – choosing colors, making buttons look cool, and ensuring your calculator is easy on the eyes.
And making It User-Friendly so that ever clicked a button and nothing happened? We’ll show you how to make your calculator respond smoothly to your clicks, making it easy and fun to use.
/* ROBOTO FONT */
@import url('https://fonts.googleapis.com/css2?family=Roboto:wght@100;300;400;500;700&display=swap');

/* POPPINS FONT */
@import url('https://fonts.googleapis.com/css2?family=Poppins:wght@300;400;500;600;700&display=swap');


/* ===== Color Variables */
:root{
    --bg-color: linear-gradient(to bottom right,#EEEEEE, #E0E3EB);
    --white-color: #FFFFFF;
    --black-color: #000E1A;
    --orange-color: #FFA500;
    --medium-dark: #333333;
    --light-gray: #CCCCCC;

 }

 *{
    margin: 0;
    padding: 0;
    box-sizing: border-box;
    font-family: 'Poppins', sans-serif;
 }

/* ====== Body ====== */


/* ====== Container ====== */


/* ====== display container ====== */


/* ====== History Box ====== */


/* ====== Display Box ====== */


/* ====== Buttons ====== */


/* ===== Responsive ===== */
Section 2: Making It Work
2.1 Adding the Magic of JavaScript
Time to make your calculator do the math! We’ll use JavaScript to handle what happens when you press buttons, perform calculations, and show the results in real-time.
// Defining Variables
const display = document.querySelector(".display");
const buttons = document.querySelectorAll("button")
const specialChars = ["%", "*", "/", "-", "+", "="];
let output = "";
let historyDisplay = document.querySelector(".history");


// Create a function to calculate based on the button clicked


        // When output has "%" replace it with "/100" before evaluating


        // When DEL button is clicked the last character gets removed from the output


        // When output is empty and button clicked is specialChars it will return


// Add an Event Listener to buttons add call calculate() function on click
Congratulations! You’ve completed the journey of creating your very own calculator from scratch. You not only gained hands-on experience with HTML, CSS, and JavaScript but also have a functional and stylish tool at your disposal. As you continue exploring the world of coding, keep practicing, stay curious, and have fun building more exciting projects!

